Planning a cricket practice net for home starts with three decisions: the space available, the net panels required and the total setup cost. A well-planned enclosure makes it easier for children and adults to practise regularly without travelling to a ground for every session.
The setup can also be straightforward. Netskart offers home-practice nets with a 3 mm border rope, which helps you secure the net to suitable supports. Once a stable frame or support arrangement is ready, you can tie the net into place yourself without hiring a professional just to fit the netting.
Before buying, though, it helps to plan the space, choose the right thickness, and calculate how much netting you need. Here is how to work through those decisions.
Quick answer: Consider a ProNet 1.5 mm net for light tennis-ball practice or the suitable 2 mm braided model for tennis-ball or leather-ball use. Measure every panel, include roof coverage, and budget separately for any frame or surface work. With suitable supports ready, the 3 mm border rope makes DIY net fitting straightforward.
1. Start With the Practice You Want to Do
Choose the setup around your usual activity.
Are you planning tennis-ball cricket with your children, regular batting drills, or bowling practice with a full run-up? Each requires a different amount of space.
Practice activity | Main planning consideration |
|---|---|
Children’s tennis-ball practice | Supervision and comfortable room for movement |
Controlled batting drills | Space for the batter, delivery position, and complete bat swing |
Regular leather-ball practice | Suitable netting, protective equipment, and protection for the person delivering |
Full bowling practice | Pitch distance, run-up, follow-through, and playing surface |
Decide on the ball type before choosing the net. A product suitable for light tennis-ball practice may have a different specification from one intended for repeated leather-ball impact.
2. Home Cricket Net Size: Plan Length, Width and Height
Full bowling practice needs more than 66 feet
The standard adult cricket pitch is 22 yards, or 66 feet, between the bowling creases. A complete practice area also needs room for the bowler’s run-up, space behind the batter, and access around the enclosure. MCC Laws of Cricket, published by BCCI
If full bowling practice is your priority, mark the proposed stump positions first. Then check whether the available space accommodates the bowler’s actual run-up and follow-through.
Smaller spaces can support selected batting drills
A shorter enclosure may suit controlled feeds and particular batting exercises. Plan the delivery position around the players’ ages, ability, and ball type.
For hard-ball practice at shortened distances, have a qualified coach assess the activity and protection needed for the person delivering.
Leave room for the complete bat swing
Check width and height as carefully as length. The batter should be able to take a stance and complete the intended shots without hitting the net or frame.
Mark the proposed enclosure on the ground before ordering. Walk through the layout and check where the batter, bowler, and waiting players will stand.
Also consider nearby windows, vehicles, walkways, overhead cables, and neighbouring property. The position of the net should work for the people around it as well as those practising inside.
3. Choose a 1.5 mm or 2 mm Net for Home Practice
For home buyers, 1.5 mm and 2 mm are practical options to consider, with the choice depending on the ball and frequency of use.
Netskart option | Suggested home use |
|---|---|
ProNet 1.5 mm cricket practice net | Light, recreational tennis-ball practice and family sessions |
ProNet 2 mm braided cricket net | More regular home practice, including tennis-ball or leather-ball use as specified for the product |
Netskart describes its ProNet 1.5 mm option as a tennis-ball practice net and does not recommend that model for leather-ball cricket. Its ProNet 2 mm braided model is listed for both tennis-ball and leather-ball practice. Check the exact product specification when ordering. Netskart cricket-net collection, ProNet 2 mm braided net
For occasional tennis-ball sessions, start by considering the 1.5 mm option. If you expect more frequent use or intend to practise with leather balls, consider the suitable 2 mm model.
Tell Netskart your ball type and expected usage so the recommendation matches your setup.
Check the mesh size as well as the thread
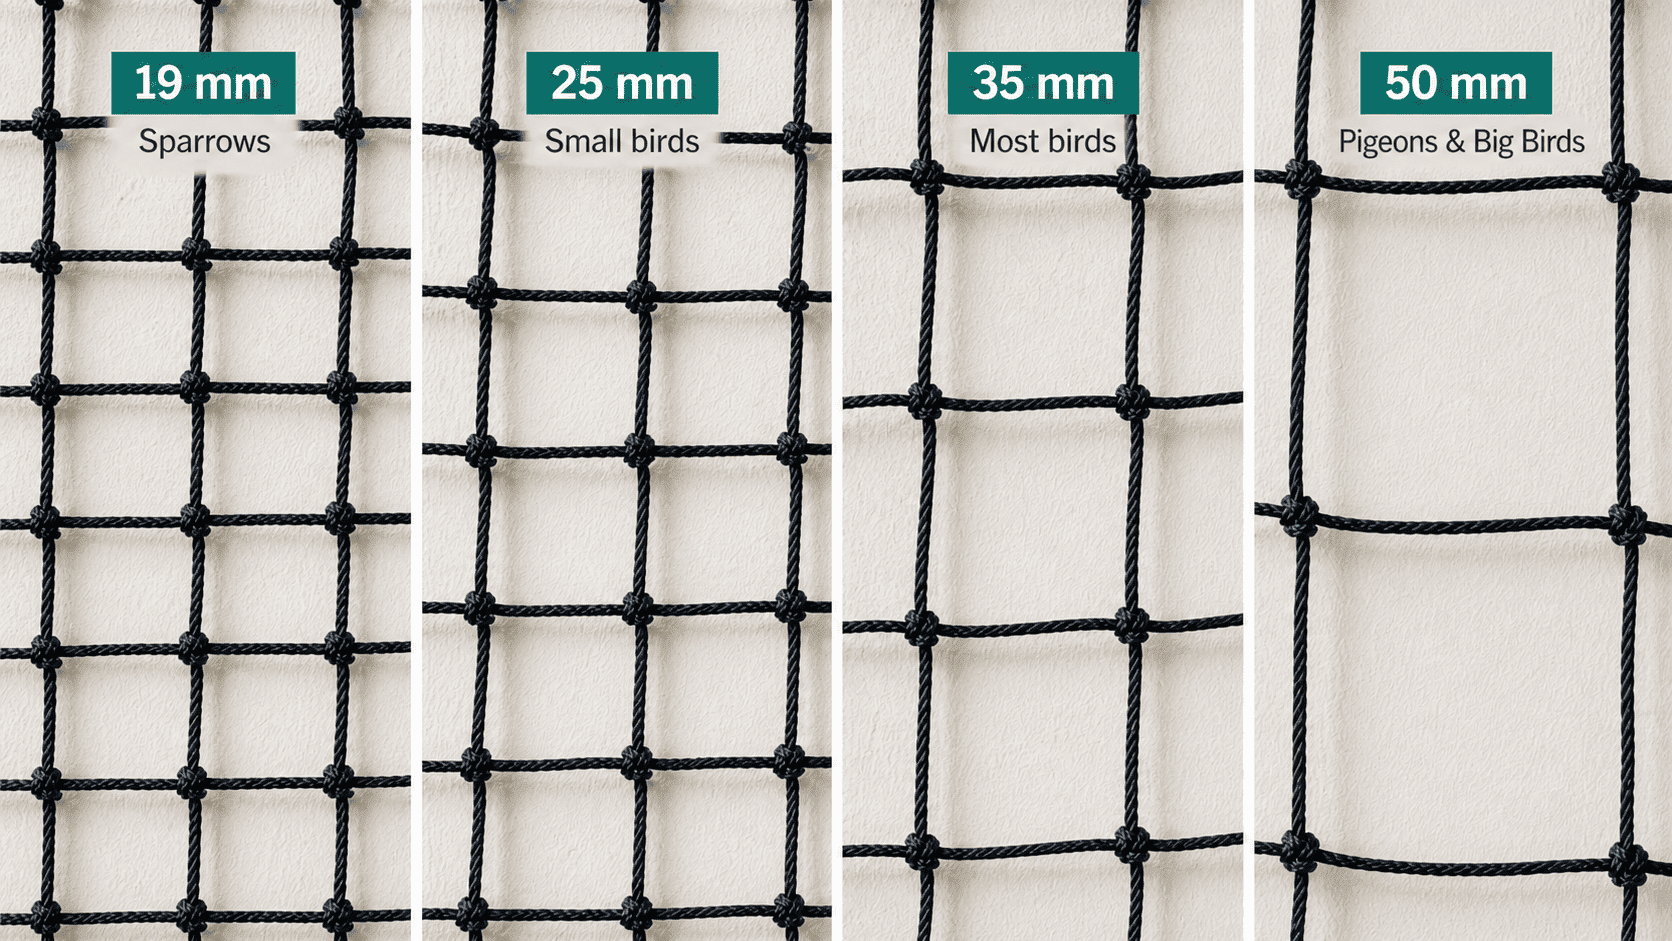
The two ProNet models discussed here list 50 mm mesh. This describes the opening between threads, while 1.5 mm or 2 mm describes the thread itself. Confirm the mesh and ball suitability on the exact product you select; thickness alone is not a complete specification.
See the ProNet 1.5 mm tennis-ball cricket net for its model-specific details.
Net thickness and border-rope thickness are different
The 1.5 mm or 2 mm measurement refers to the net’s thread thickness.
The 3 mm border rope runs along the net’s edges and helps with securing it to the support arrangement. A net with a 3 mm border rope is therefore not the same as a net made from 3 mm thread.
This distinction is useful when comparing products and quotations.
4. Plan Which Panels You Need
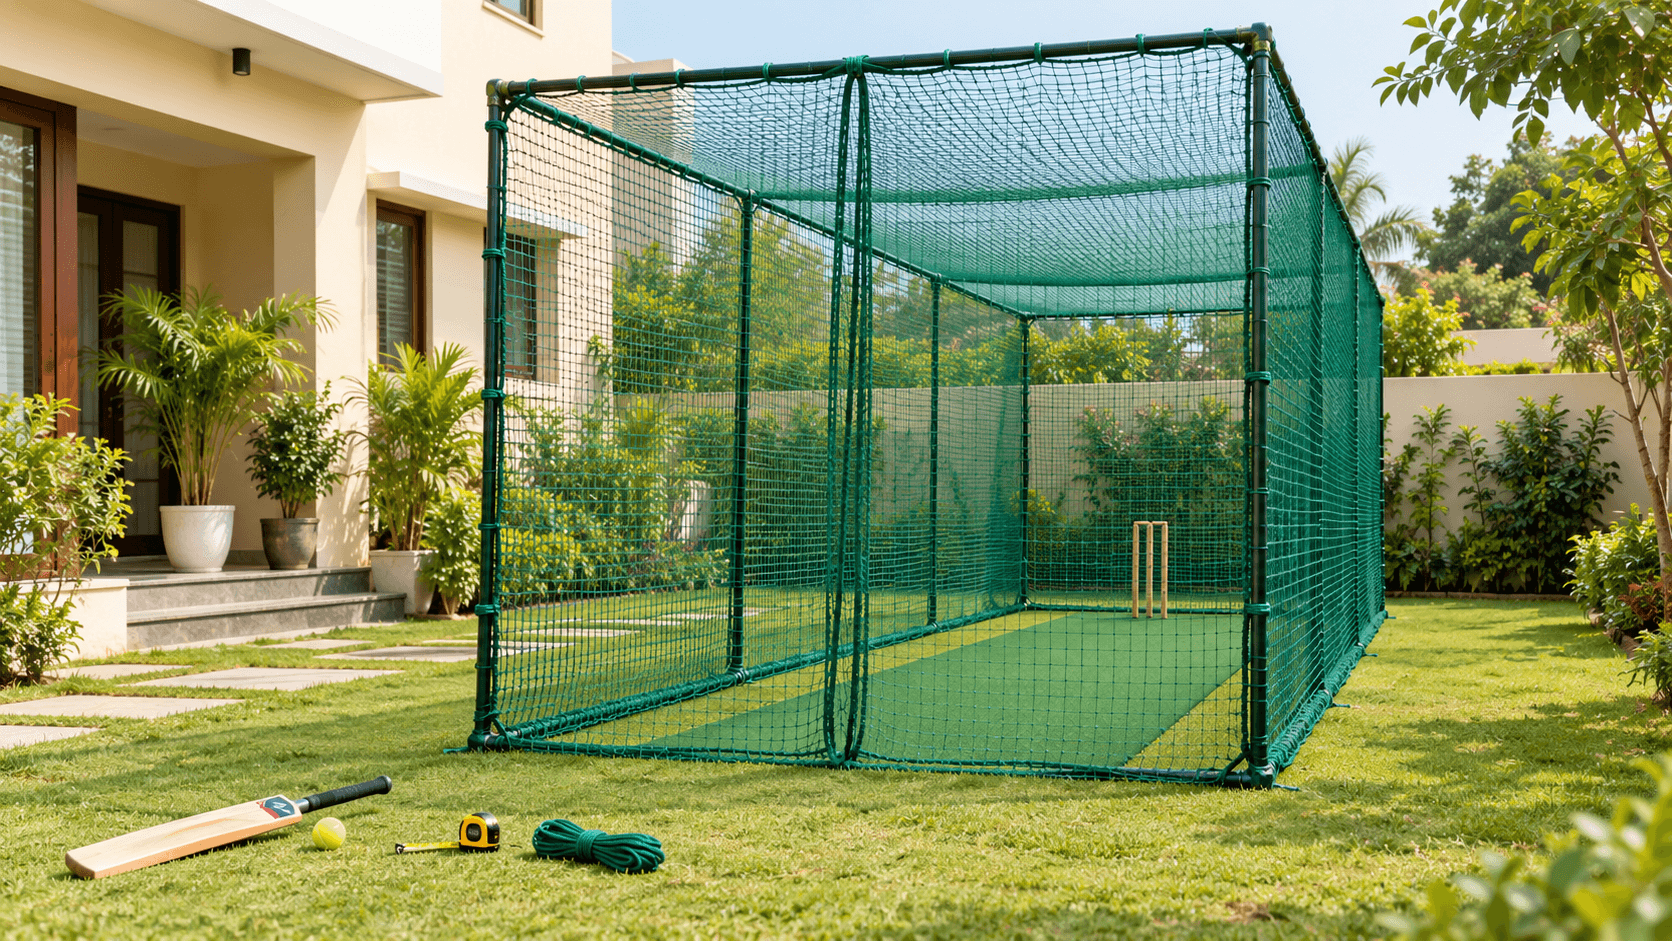
A rectangular cricket enclosure commonly uses five netted surfaces:
Panel | Basic area calculation |
|---|---|
Left side | Length × height |
Right side | Length × height |
Back end | Width × height |
Front end | Width × height |
Roof | Length × width |
The ground is the playing surface, so it is excluded from this calculation.
Plan the entrance and delivery opening before ordering. A closed batting enclosure and a bowling lane will have different access requirements.
Include roof coverage in an outdoor containment plan. The ECB’s safety guidance calls for roof netting and checks that balls cannot escape through holes, underneath the net, or through other openings. ECB Recreational Cricket Safety Guidelines
5. How to Calculate Cricket Net Panel Area
The following dimensions are a calculation example, not a recommended minimum size for home practice.
Suppose an enclosure measures:
- Length: 30 feet
- Width: 12 feet
- Height: 12 feet
If both sides, both ends, and the roof are covered, the basic quantity is:
Panel | Calculation | Net area |
|---|---|---|
Left side | 30 × 12 | 360 sq ft |
Right side | 30 × 12 | 360 sq ft |
Back end | 12 × 12 | 144 sq ft |
Front end | 12 × 12 | 144 sq ft |
Roof | 30 × 12 | 360 sq ft |
Total | 1,368 sq ft |
The enclosure occupies 360 square feet of ground, but requires 1,368 square feet of netting before installation allowances.
For this five-surface layout:
Total net area = 2(length × height) + 2(width × height) + (length × width)
Measure the clear inside dimensions of the frame. Ask Netskart to confirm the finished panel sizes, entrances, joins, and any fitting allowance before ordering. Its cricket-net planner can help organise these measurements.
6. Fit the Net Yourself Using the 3 mm Border Rope
For a straightforward home setup with suitable supports already in place, fitting the net does not require a professional installer.
The border rope gives you an edge to work with when securing the net. Tie through the reinforced border rather than relying on individual mesh threads as the main attachment points, and follow the supplied fitting instructions.
- Lay out the panels. Identify the side, end, and roof sections before lifting them into position.
- Position the border rope. If supplied separately, attach it along the net’s edges according to the fitting instructions.
- Tie the bordered edges to the supports. Secure them to the suitable frame, poles, or attachment points.
- Complete the perimeter. Work around each panel so the edges are supported throughout.
- Check joins and openings. Close unintended gaps at corners, panel connections, and ground level.
- Inspect the finished enclosure. Confirm that ties are secure and the entrance closes as intended.
Keep the net supported without pulling it excessively tight. The ECB notes that overly tight netting can cause dangerous ball rebounds. ECB netting guidance
The important starting point is a suitable support arrangement. Tying the net is the simple part; a new frame, foundations, or terrace anchoring needs to be planned separately.
7. Home Cricket Net Setup Cost: What to Include
If you already have a suitable frame and playing surface, your main purchase may be the net panels and any additional attachment materials.
If you are starting from an empty space, include the structure and surface work too.
Cost item | What to check |
|---|---|
Net panels | Thickness, material, dimensions, and panel quantity |
Border rope | Confirm that the selected net includes the specified 3 mm rope |
Attachment materials | Any extra tying cord or fittings required |
Frame or poles | Whether suitable supports already exist |
Playing surface | Whether preparation, drainage, or a practice mat is needed |
Delivery and taxes | What the quotation includes |
For illustration, if the confirmed billable area were 1,368 sq ft and your quoted netting rate were ₹10 per sq ft, the net cost would be:
1,368 × ₹10 = ₹13,680
This rate is hypothetical and is not a current Netskart quotation.
For a simple setup that you tie yourself, you do not need to include a professional net-fitting charge. Any frame fabrication or site preparation remains a separate cost.
Netskart’s planner also distinguishes net-panel pricing from steel structures, civil work, and installation unless those are specifically included in the quotation. Netskart quotation scope
8. Make a Quick Check Before Each Session
Before practising, look for loose ties, damaged threads, open corners, or gaps beneath the net.
Check that the mat lies flat and the playing area is clear. Keep other people outside the hitting area, use appropriate protection for hard-ball practice, and stop deliveries before anyone retrieves balls.
For a terrace setup, confirm the suitability of the structure and anchoring before installation. Cricket netting contains balls; it does not provide protection against people falling.
Plan Your Home Cricket Net With Netskart
Before ordering, send Netskart:
- Your ball type and expected practice frequency.
- The clear length, width, and height of the proposed enclosure.
- The panels required, including roof coverage.
- Photos showing the support arrangement and surrounding space.
- Any entrance or delivery opening that needs to remain accessible.
For light tennis-ball practice, consider Netskart’s ProNet 1.5 mm net. For more regular practice, consider its suitable 2 mm braided option.
Choose the panels to match your space, confirm the 3 mm border rope, and secure the net to suitable supports. With that preparation, a home practice setup can be manageable to install yourself and easy to use regularly.
Explore Netskart’s cricket nets or use the cricket-net planner to work out your panel requirements.