Netskart™
Loading original ProNet® excellence...
Loading original ProNet® excellence...
Bird nets, safety nets, cricket nets, spikes — right product recommended in 30 seconds.
No confusion, no guesswork.

20 years in the netting industry · trusted by 50,000+ Indian homes
Talk to our experts. Tell us your problem, your space, your budget. We'll recommend the exact product and size — no pressure to buy.

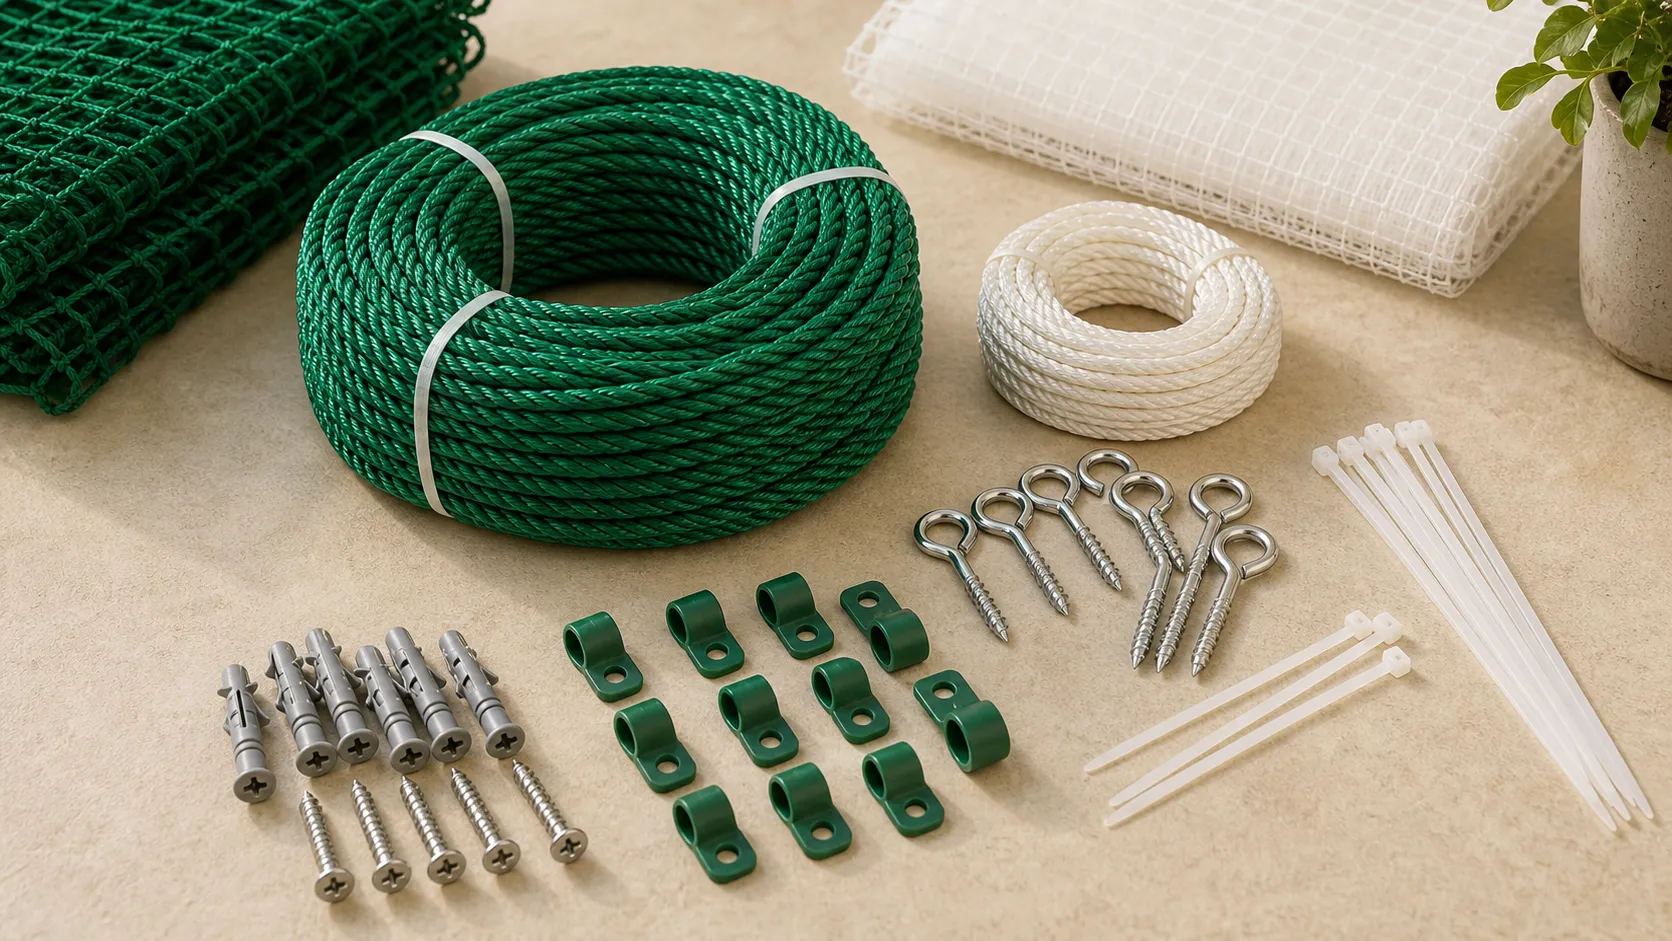

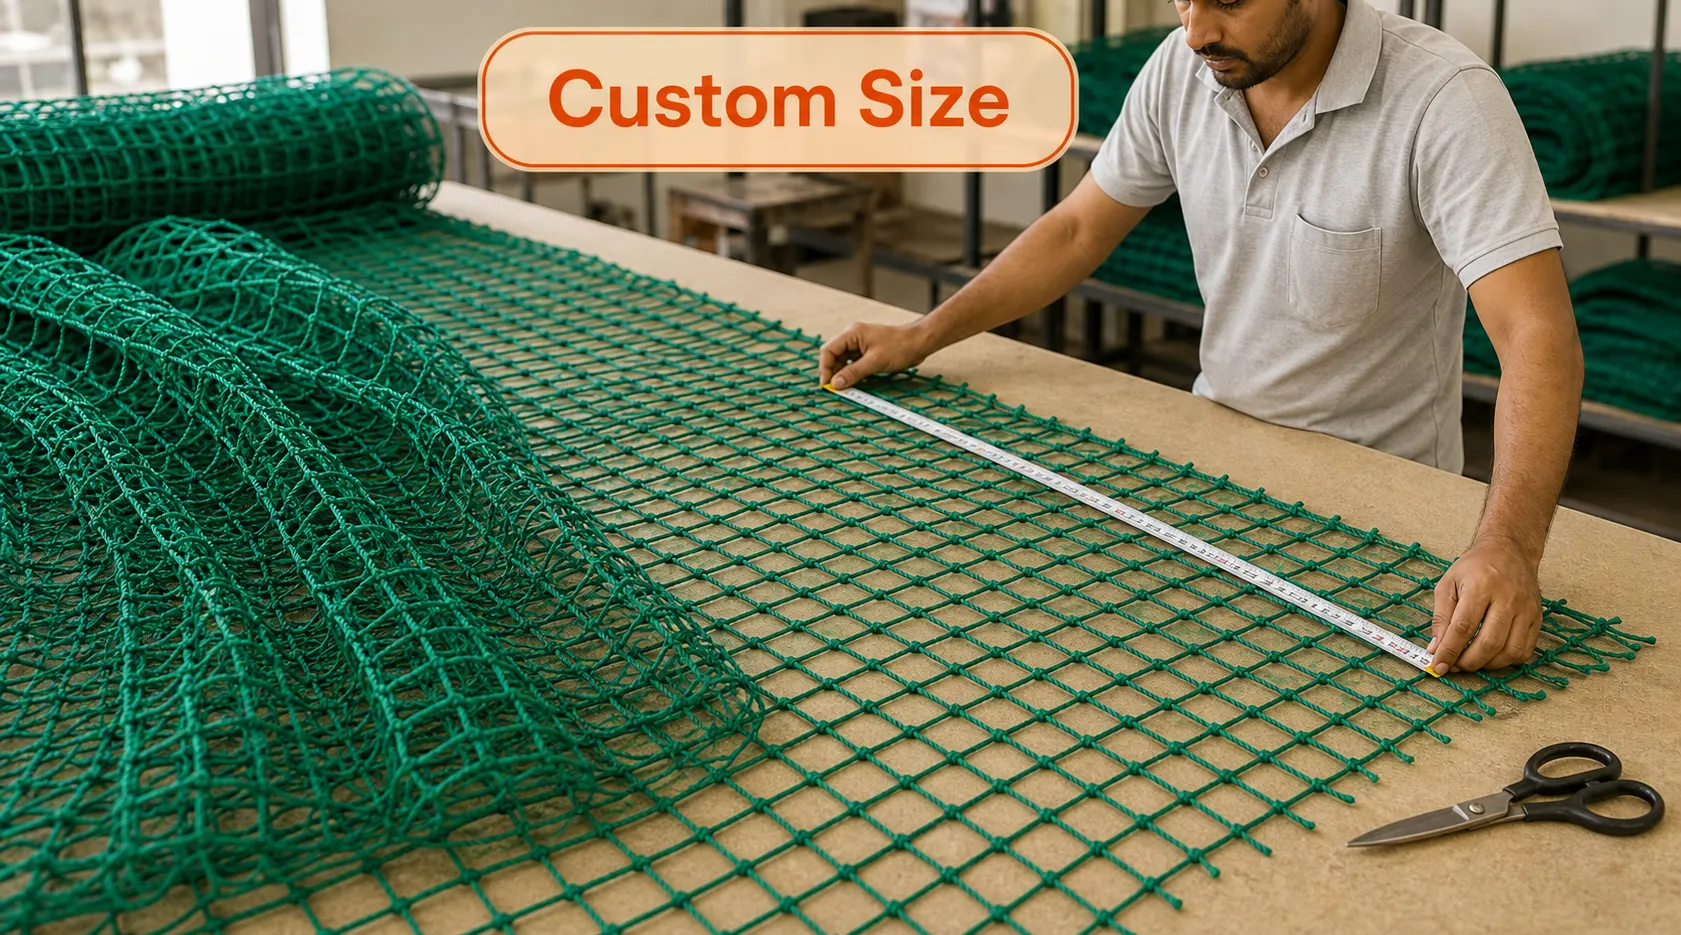
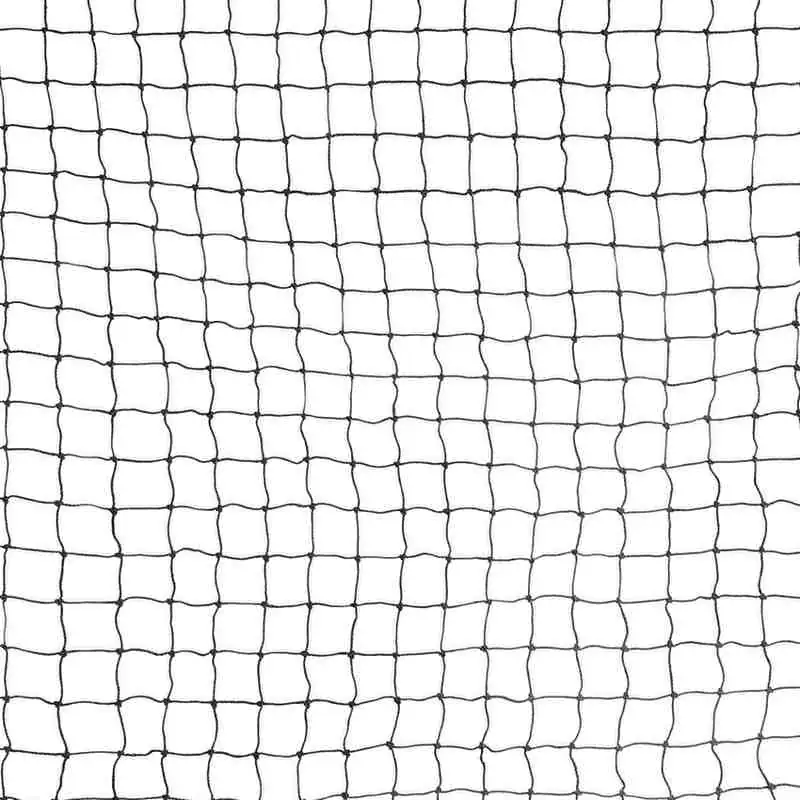
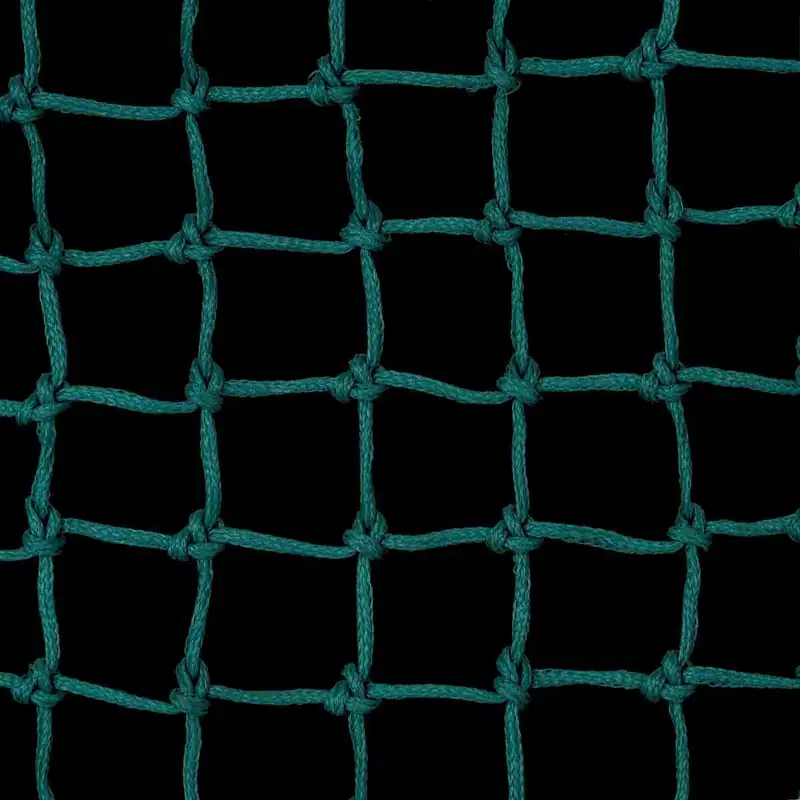
A technical guide explaining how twisted, braided, single nylon, 12 ply, 15 ply and knotless net construction affects strength, durability and the right use case for bird nets, cricket nets and child safety nets.
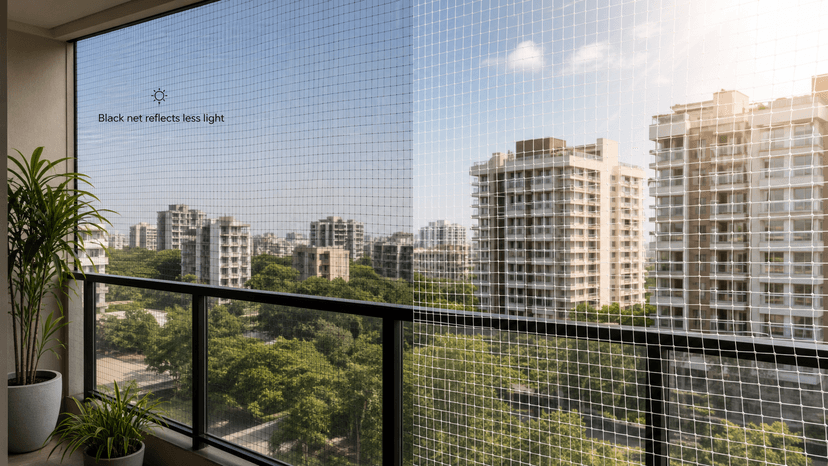
Most people ask for a white bird net, but black is usually the least visible on a balcony. Here's why — and how to pick the right colour for the cleanest view.

Why Construction Safety Nets Are Essential for Every Building Project Construction business is among the rapidly expanding industries across the globe. Residential towers, commercial com...
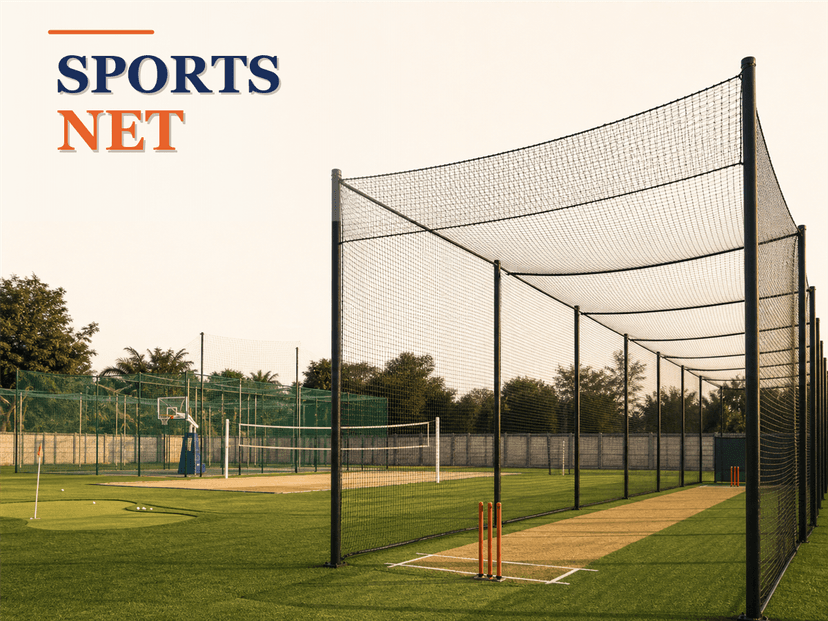
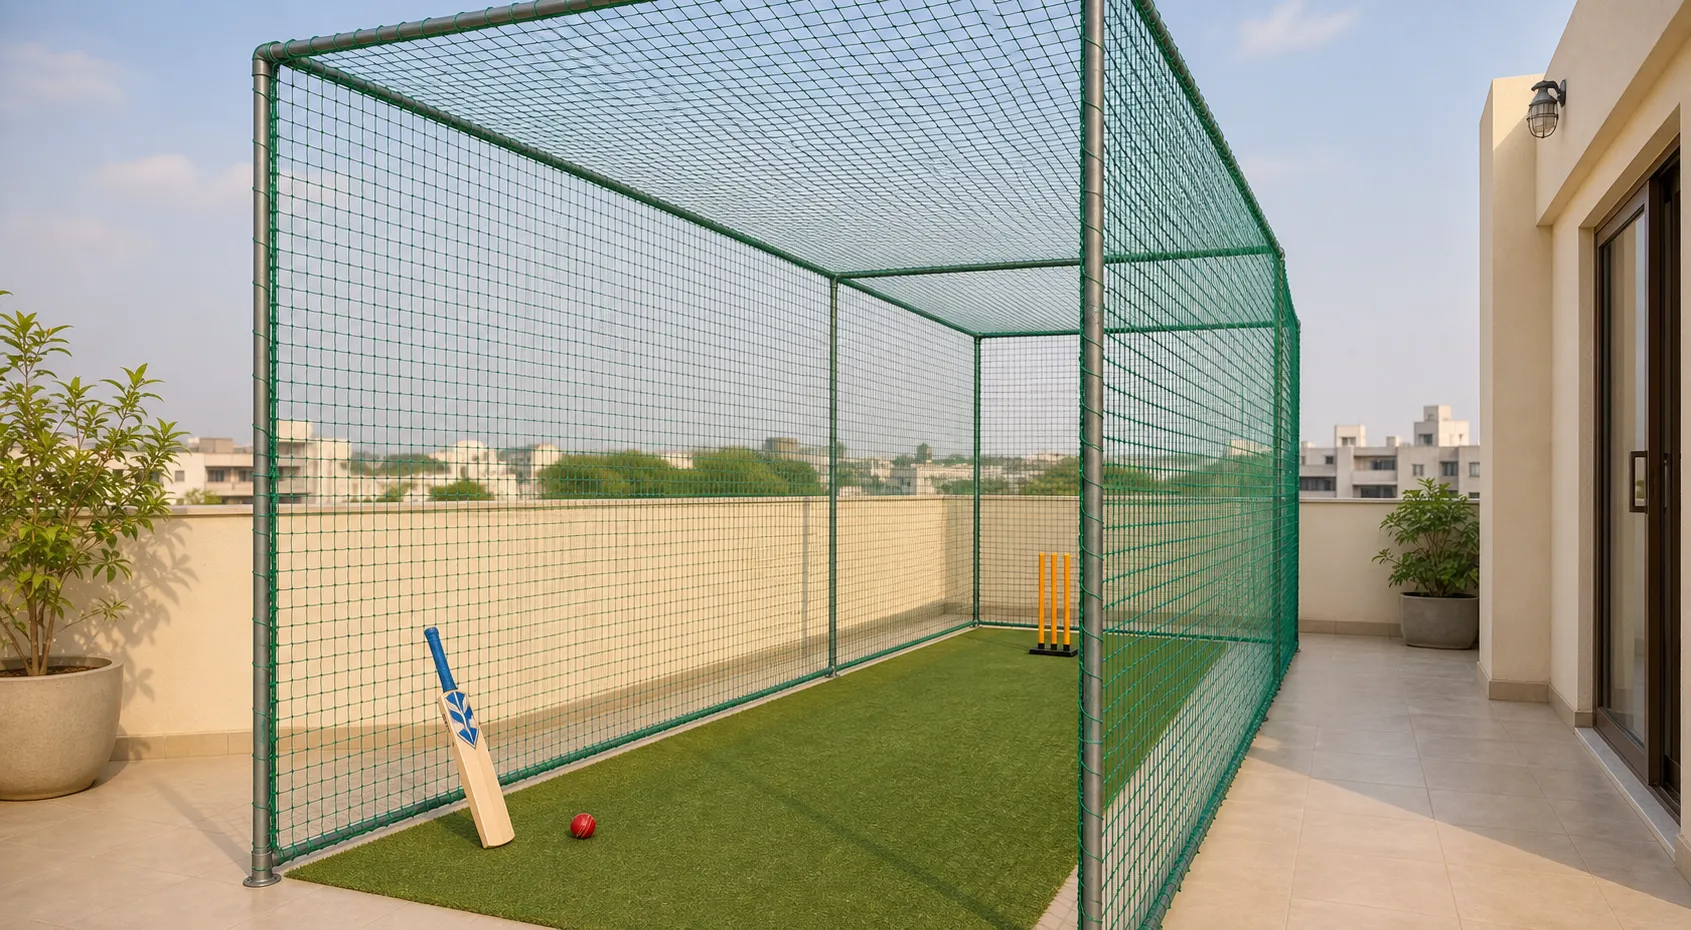
Explore different types of sports nets for cricket, badminton, basketball, football, volleyball, tennis, pickleball and golf, with tips on material, safety, usage and maintenance.
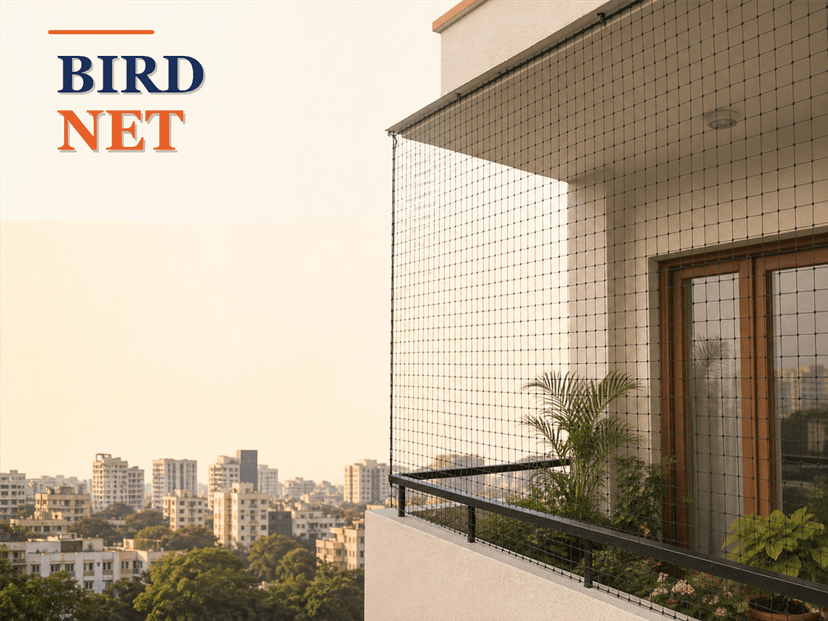
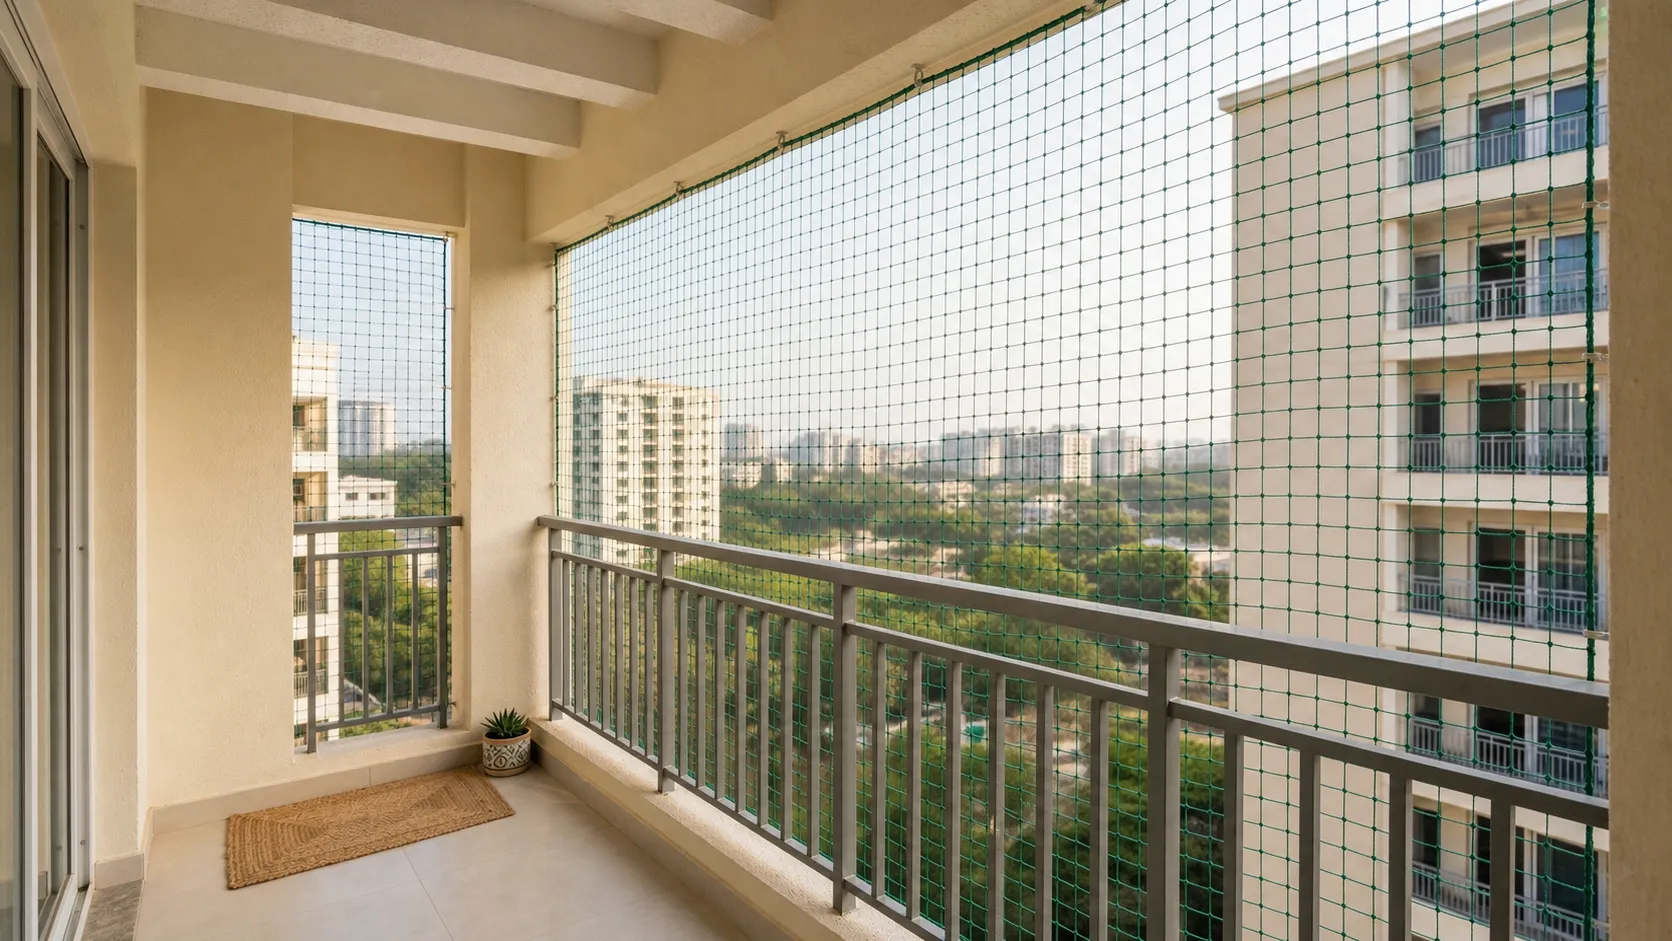
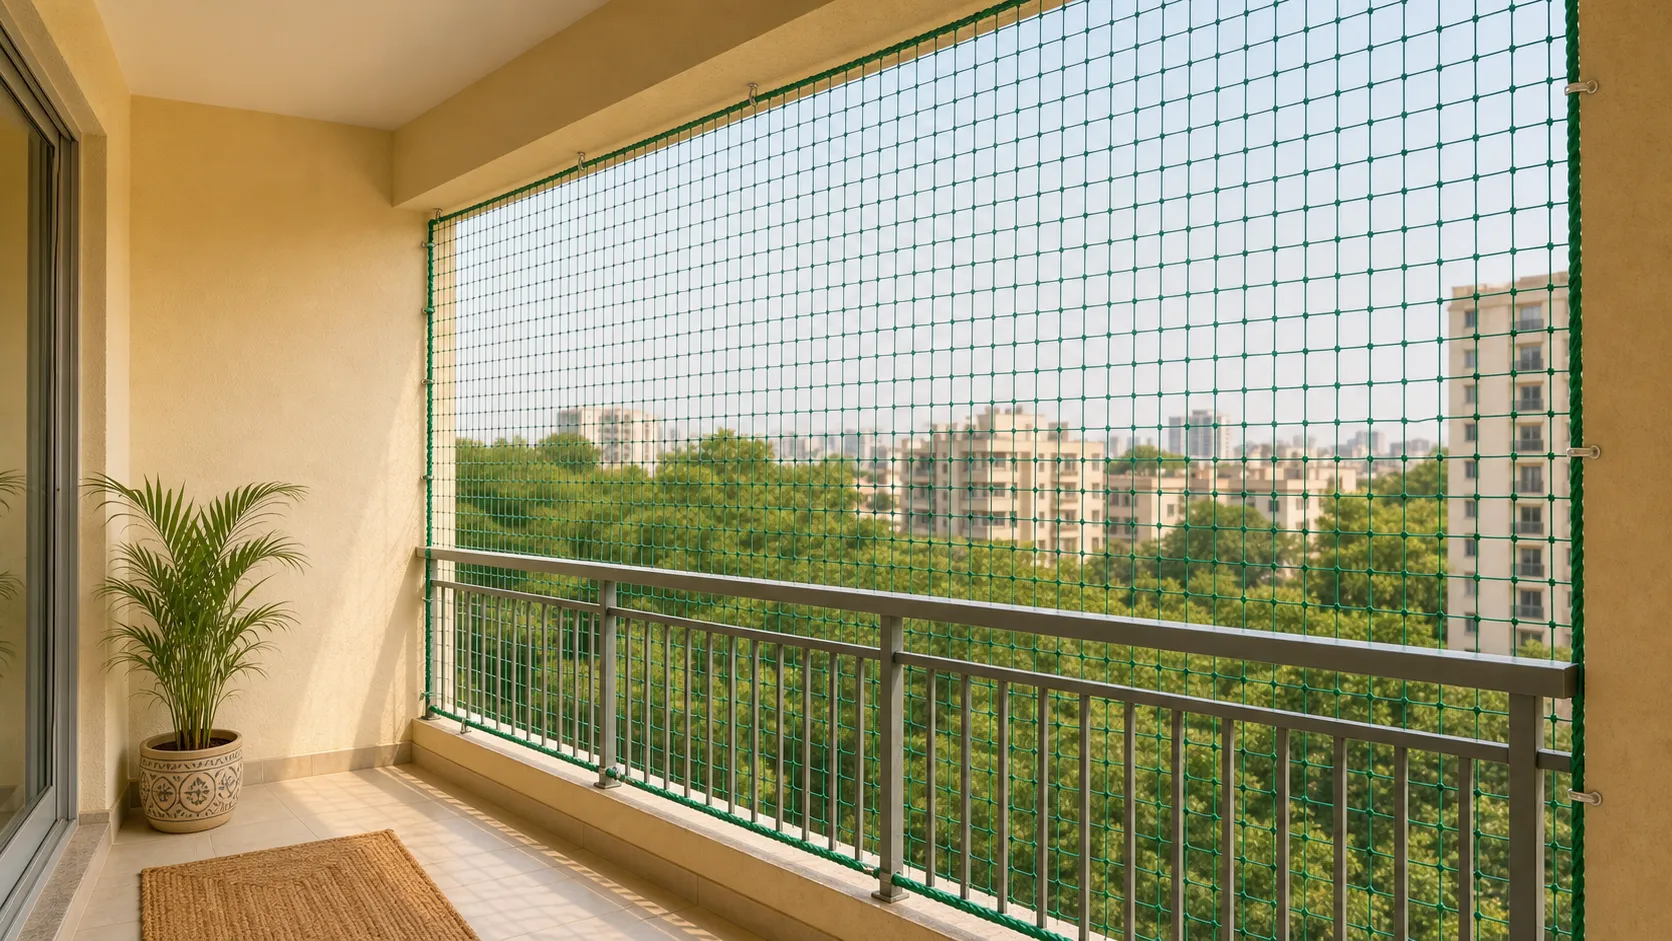
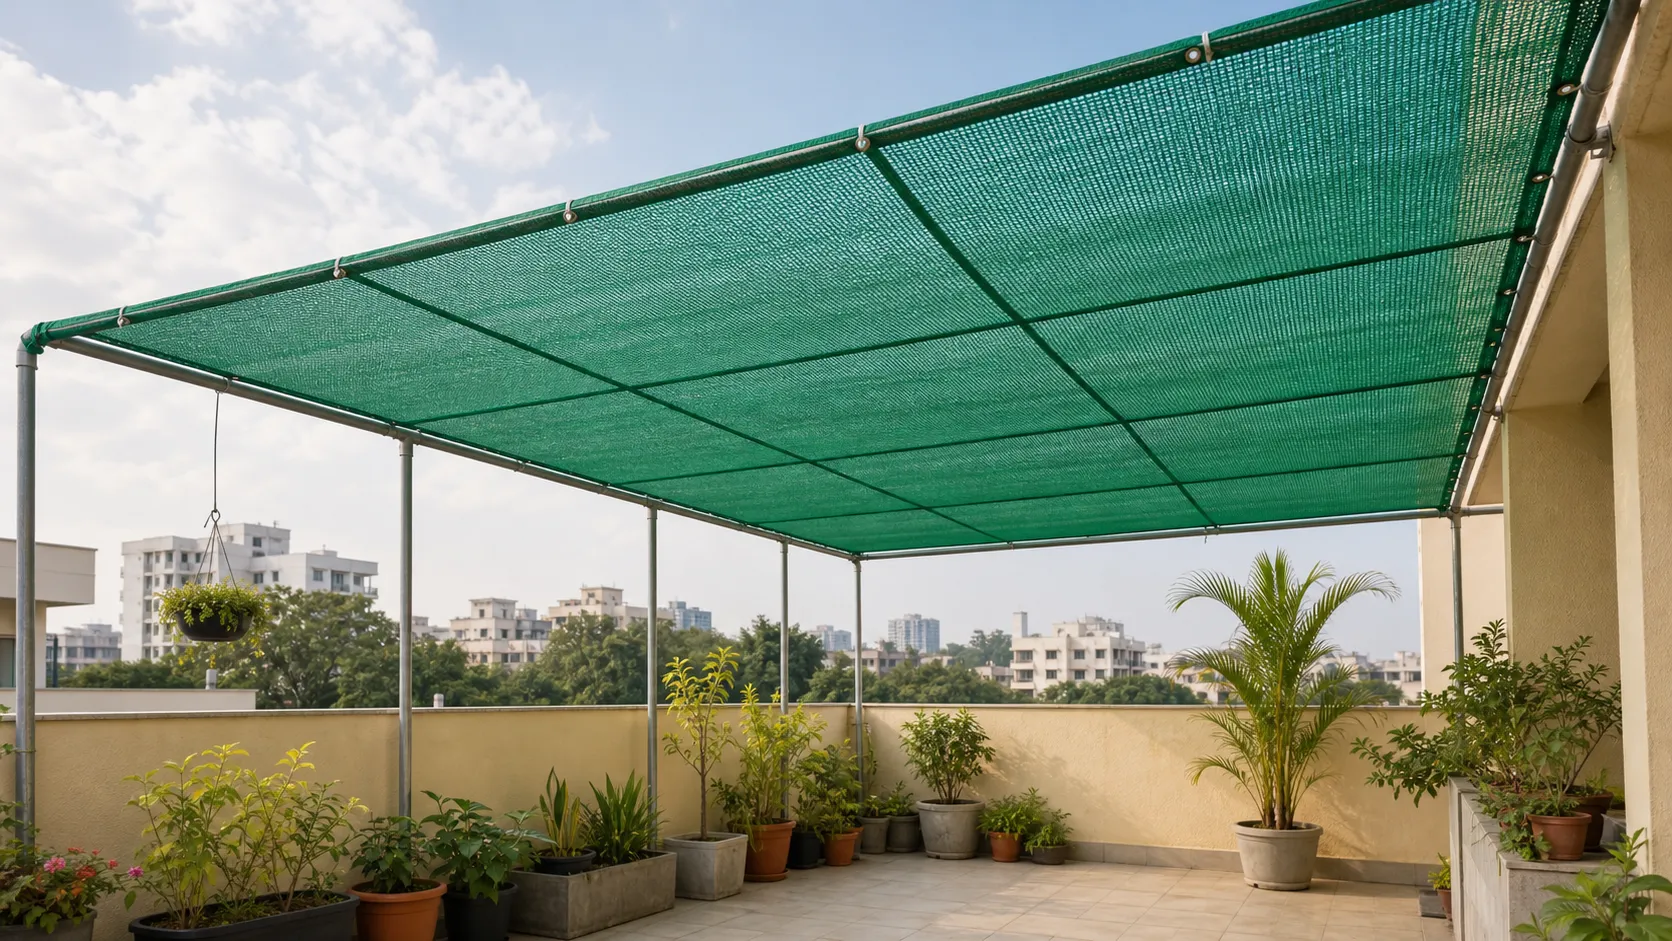
Learn how to choose the right bird net for balconies, windows, terraces, rooftops and buildings, with tips on material, mesh size, brand quality and long-term protection.
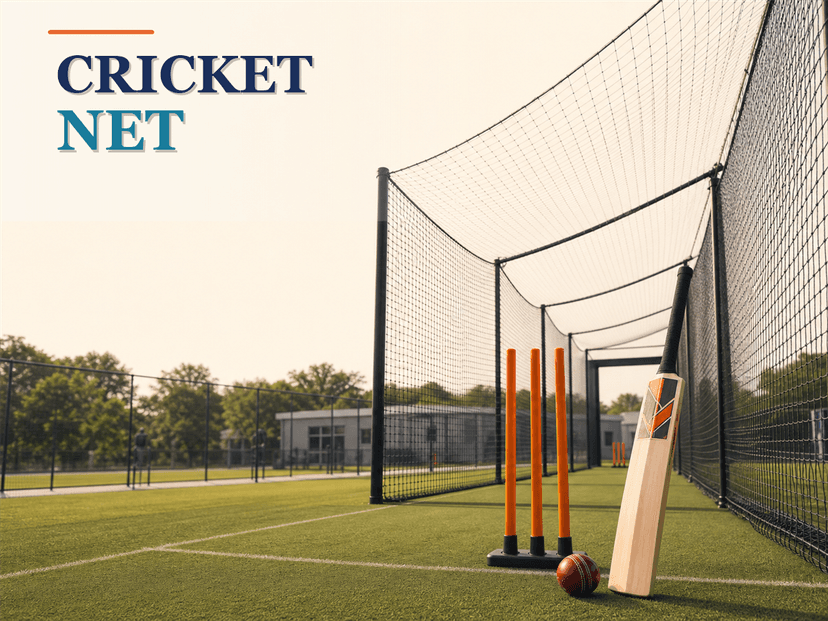
Learn how cricket net mesh size, UV protection, safety, installation and net type affect durability and performance for schools, academies and home practice areas.